Screenshot DPI Analysis - Upload your image or PDF file to check its DPI and resolution details
Drop your file here or click to browse
Supports JPG, PNG, GIF, BMP, TIFF, PDF files (Max 50MB)
Tip: For best results, ensure your images have embedded DPI metadata. Professional cameras and scanners typically include this information automatically.
DPI Analysis Results
File PreviewPreview
File InformationFile Info
Filename-
File Size-
File Type-
Resolution DetailsResolution
Dimensions-
DPI (Horizontal)-
DPI (Vertical)-
Quality AssessmentQuality
Analyzing...
Analyzing image quality based on DPI...
Understanding DPI (Dots Per Inch)
What is DPI?
DPI (Dots Per Inch) measures the resolution of images and determines print quality. Higher DPI means more detail and better print quality.
Common DPI Standards:
72 DPI: Standard for web images
150 DPI: Good for basic printing
300 DPI: Professional print quality
600+ DPI: High-quality printing
Why Check DPI?
Ensure proper print quality
Optimize images for web or print
Meet publication requirements
Understand image resolution capabilities
File Format Support:
JPG/JPEG images
PNG images
GIF, BMP, TIFF
PDF documents
About the DPI Checker Tool
Understanding your image resolution is crucial for both digital and print projects. Our free DPI checker online tool helps you quickly analyze the dots per inch (DPI) of any image or PDF file. Whether you're working with screenshots, photos, or documents, this picture dpi checker provides instant insights into your file's resolution quality.
DPI (dots per inch) determines how crisp and clear your images will look when printed. While 72 DPI works fine for web display, you'll need 300 DPI or higher for professional printing. Our image dpi checker supports all popular formats including JPG, PNG, GIF, BMP, TIFF, and PDF files, making it perfect for photographers, designers, students, and anyone who needs to verify screenshot DPI or document resolution before printing.
Best of all, this jpg dpi checker works entirely in your browser - no software installation required. Simply upload your file and get detailed resolution information in seconds, including dimensions, file size, and quality assessment.
How to Use the Picture DPI Checker
1
Upload File
Click "Choose File" or drag and drop your image or PDF file into the upload area.
2
Analyze DPI
Our online image DPI checker automatically analyzes your file and extracts resolution data.
3
View Results
Check the DPI, dimensions, file size, and quality assessment of your uploaded file.
Recommended DPI for Different Uses
Use this handy reference table to determine the ideal DPI for your specific project:
Use Case
Recommended DPI
Notes
Web Display
72-96 DPI
Perfect for websites, social media, email
Basic Document Printing
150 DPI
Good for text documents, basic graphics
Photo Printing (4x6, 5x7)
300 DPI
Standard for high-quality photo prints
Professional Photography
300-600 DPI
For magazines, brochures, marketing materials
Large Format Posters
150-200 DPI
Viewed from distance, lower DPI acceptable
Fine Art Reproduction
600+ DPI
Museum-quality prints, archival purposes
Billboard/Outdoor Signage
25-100 DPI
Large viewing distance allows lower resolution
Business Cards/Flyers
300 DPI
Close viewing requires sharp detail
Remember: Higher DPI means larger file sizes. Balance quality needs with storage and transfer requirements for your specific project.
Why DPI Matters for Print and Digital Media
In today's digital world, understanding DPI (dots per inch) can save you from costly printing mistakes and ensure your images look their best across all media. Whether you're a student printing assignments, a business owner creating marketing materials, or a photographer preparing portfolio prints, DPI directly impacts your final output quality.
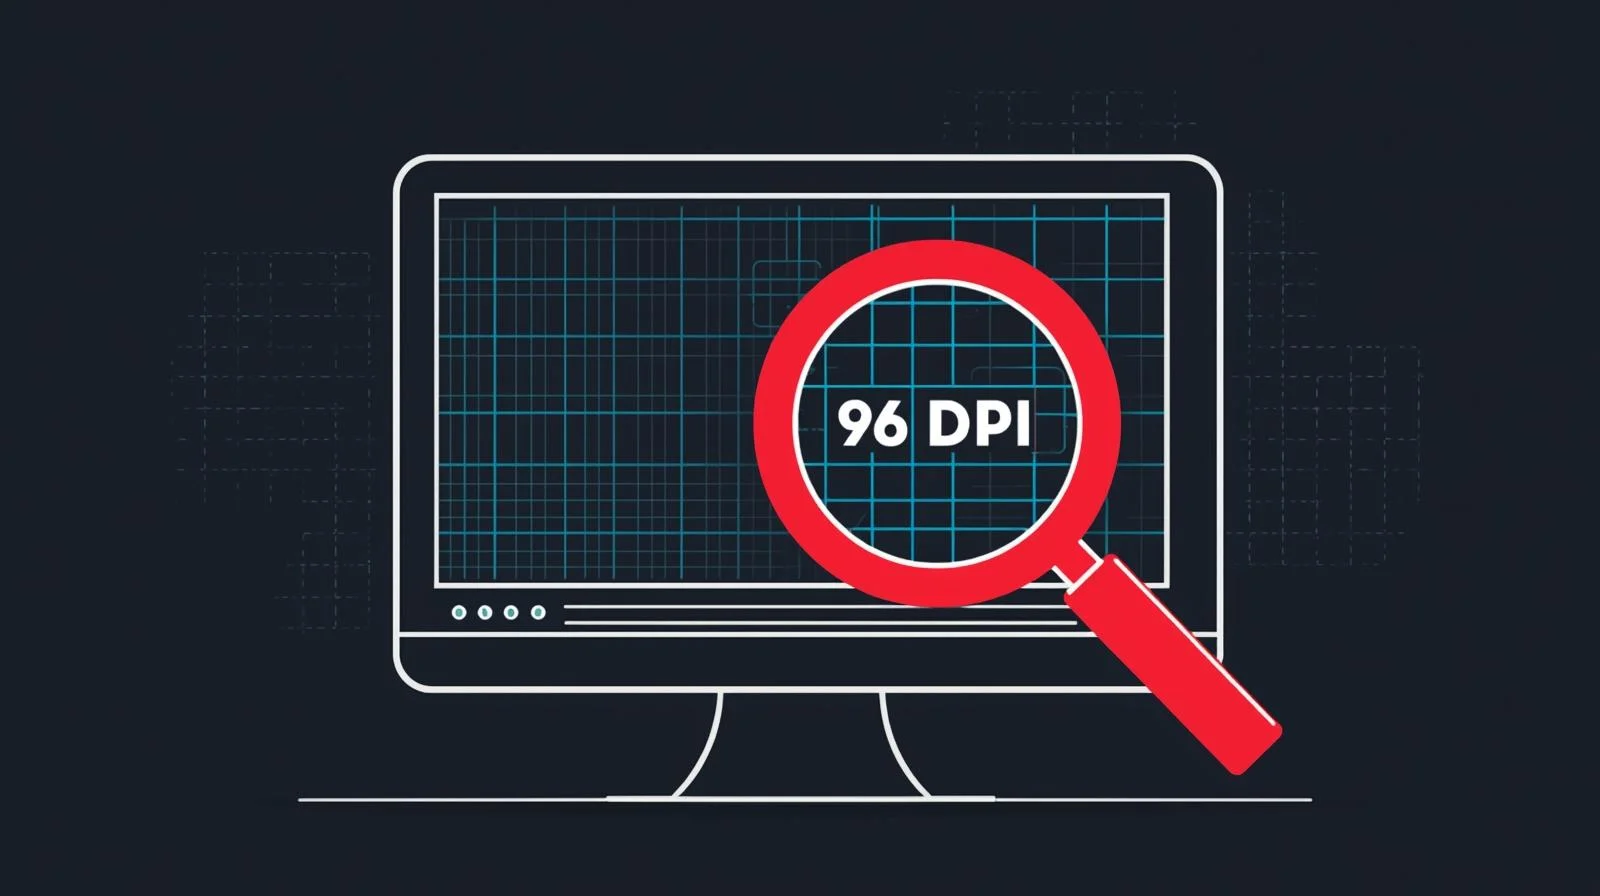
The key is matching DPI to your intended use. Web images only need 72 DPI because computer screens can't display higher resolutions effectively. However, printers work differently - they create images by placing tiny dots of ink on paper. More dots per inch means finer detail and smoother gradients in your printed photos.
Many people discover DPI issues too late, when their printed photos appear pixelated or blurry. By checking your image DPI beforehand with tools like our online checker, you can resize or rescan images to meet printing requirements. This simple step ensures professional-looking results every time, whether you're printing family photos or important business documents.
Professional tip: Always keep high-DPI originals and create lower-resolution copies for web use. This workflow gives you flexibility to print quality images while keeping your website loading fast with optimized file sizes.
Frequently Asked Questions
DPI (Dots Per Inch) measures how many dots of ink a printer can place within a one-inch line. Higher DPI means more detail and sharper prints. For web images, 72 DPI is sufficient, but for printing photos or documents, you typically need 300 DPI or higher for professional quality results.
Yes! Our screenshot DPI checker works with any image file, including screenshots from phones, tablets, or computers. However, most screenshots are saved at 72-96 DPI since they're designed for screen viewing, not printing.
DPI (Dots Per Inch) refers to printer output, while PPI (Pixels Per Inch) refers to digital displays. Many people use these terms interchangeably, and our tool shows the resolution information that's most relevant for your file type and intended use.
Some images don't have embedded DPI metadata, especially screenshots, web images, or photos edited in certain software. This doesn't mean the image is bad quality - it just means the DPI information wasn't saved with the file.
For high-quality photo printing, use 300 DPI. For large format prints like posters, 150-200 DPI is often sufficient since they're viewed from a distance. For basic document printing, 150 DPI works well.
Absolutely! Our PDF DPI checker analyzes PDF documents and can extract resolution information from embedded images within the PDF. This is especially useful for checking if your PDF is print-ready.
Yes, your privacy is our priority. All file analysis happens locally in your browser - we don't upload your files to our servers. Your images and documents remain completely private and secure on your device.
72 DPI vs 300 DPI: When Does It Actually Matter?
If you've ever prepared images for print, you've probably heard the "300 DPI rule." But here's the truth — not every image needs 300 DPI. Understanding when 72 DPI is perfectly fine and when you absolutely need higher resolution can save you tons of time and headaches.
What Does DPI Actually Mean? (In Plain English)
DPI stands for "Dots Per Inch." It's literally how many tiny dots of ink a printer can squeeze into one inch of paper. Think of it like pixel density for printing. More dots = sharper image. Fewer dots = blurrier image when printed.
Here's the kicker though: DPI only matters for physical printing. Your computer screen doesn't care about DPI at all. That Instagram photo? That website header? They display the exact same whether they're 72 DPI or 1200 DPI. What matters for screens is pixel dimensions (like 1920×1080).
When 72 DPI is Totally Fine
Let's bust a myth: 72 DPI is perfect for anything that stays digital. Here's when you don't need to stress about low DPI:
Website images and banners — Your visitors' monitors don't print stuff. A 72 DPI image at 1200×800 pixels looks crisp on any screen.
Social media posts — Instagram, Facebook, Twitter compress your images anyway. Uploading 300 DPI photos? You're just wasting upload time.
Email attachments — Sending high-res 300 DPI images makes emails unnecessarily huge. Stick with 72-96 DPI for faster sending.
PowerPoint/Google Slides presentations — Presentations are viewed on screens or projectors, not printed. 72-150 DPI works perfectly.
Digital portfolios — Unless someone's printing your portfolio (rare), 72 DPI is plenty for showcasing your work online.
Pro tip: Use our Height Converter if you need to figure out proper image dimensions for different screen sizes!
When You Absolutely Need 300 DPI (Don't Skimp Here!)
Okay, now let's talk about when DPI becomes your best friend or worst enemy:
📸 Professional Photo Printing
Planning to print photos at a photo lab? You want 300 DPI minimum. Here's why: a 4×6 photo at 300 DPI needs to be 1200×1800 pixels. If you only have 72 DPI, your photo will look pixelated and blurry up close.
Real example: You take a vacation photo and want to print it as an 8×10 for your wall. At 300 DPI, that needs to be 2400×3000 pixels. Most phone cameras easily capture this (12+ megapixels). But if you saved it at 72 DPI for Instagram first, you'll have quality loss when printing.
🎨 Business Cards & Marketing Materials
Business cards, flyers, brochures? These are viewed from 6-12 inches away. People will notice blurriness. Always use 300 DPI for these. Most professional printers actually require it.
Pro insight: A standard business card (3.5×2 inches) at 300 DPI should be 1050×600 pixels minimum. Add 0.125" bleed on all sides, and you're looking at 1125×675 pixels.
📰 Magazine & Book Publishing
Publishers almost always require 300 DPI minimum, sometimes even 600 DPI for high-end glossy magazines. This isn't negotiable — they'll reject low-res images.
🪧 Large Format Printing (With a Twist!)
Here's where it gets interesting. Billboards, posters, and banners? They can actually get away with lower DPI (100-150 DPI) because nobody views them up close. A billboard viewed from 50 feet away doesn't need the same detail as a business card held in your hand.
Rule of thumb: The farther the viewing distance, the lower DPI you can use:
Handheld (0-2 feet): 300 DPI
Wall art (3-6 feet): 150-200 DPI
Posters (6-10 feet): 100-150 DPI
Billboards (50+ feet): 25-50 DPI (yes, really!)
Common DPI Mistakes (And How to Avoid Them)
❌ Mistake #1: Using Screenshot DPI for Printing
Screenshots are captured at your monitor's resolution (usually 72-96 DPI). If you screenshot a website logo and try printing it on a T-shirt? Disaster. Always save or export original high-res files for print projects.
❌ Mistake #2: Increasing DPI in Photo Editors
You can't magically create detail that wasn't there. Changing a 72 DPI image to 300 DPI in Photoshop doesn't improve quality — it just makes the file bigger. You need to start with high-resolution images or use AI upscaling tools (which have limits).
❌ Mistake #3: Forgetting About Pixel Dimensions
A 300 DPI image that's only 500×500 pixels will still look terrible printed at 8×10. Both DPI and pixel dimensions matter together.
Q: "I have a 2000×3000 pixel photo at 72 DPI. Can I print it as a 5×7?"
A: Yes! At 300 DPI, a 5×7 print needs 1500×2100 pixels. Your 2000×3000 image has more than enough pixels. The "72 DPI" part doesn't matter — it's just metadata. What matters is you have enough total pixels.
Q: "My printer says it prints at 4800 DPI. Should my images be 4800 DPI too?"
A: Nope! That 4800 DPI refers to the printer's mechanical capability (how many ink drops it can place). Your images only need to be 300 DPI. The printer handles the rest.
Q: "Can I check DPI on my phone screenshots before printing?"
A: Absolutely! Just upload your screenshot to our DPI checker tool above. Most phone screenshots are 72-96 DPI, which means they'll look great on screens but might not print well unless the pixel dimensions are large enough.
Bottom Line: Should You Care About DPI?
If you're only working digitally (websites, social media, presentations), don't stress about DPI. Focus on pixel dimensions instead.
If you're preparing for any kind of printing, DPI matters a lot. Use our DPI checker tool above to verify your images before sending them to the printer. It takes 10 seconds and can save you from wasting money on blurry prints.
Quick reference cheat sheet:
📱 Screen display: 72-96 DPI is perfect
🖼️ Home photo prints: 300 DPI minimum
💼 Business materials: 300 DPI (non-negotiable)
📖 Magazines/Books: 300-600 DPI
🎪 Large format/Posters: 100-200 DPI (depends on viewing distance)
📧 Email/Web: 72 DPI to keep file sizes small
Want to double-check if your image will print clearly? Use our free DPI checker tool at the top of this page. It'll show you the exact resolution and whether it's suitable for your intended use. No guessing, no surprises when you hit print!